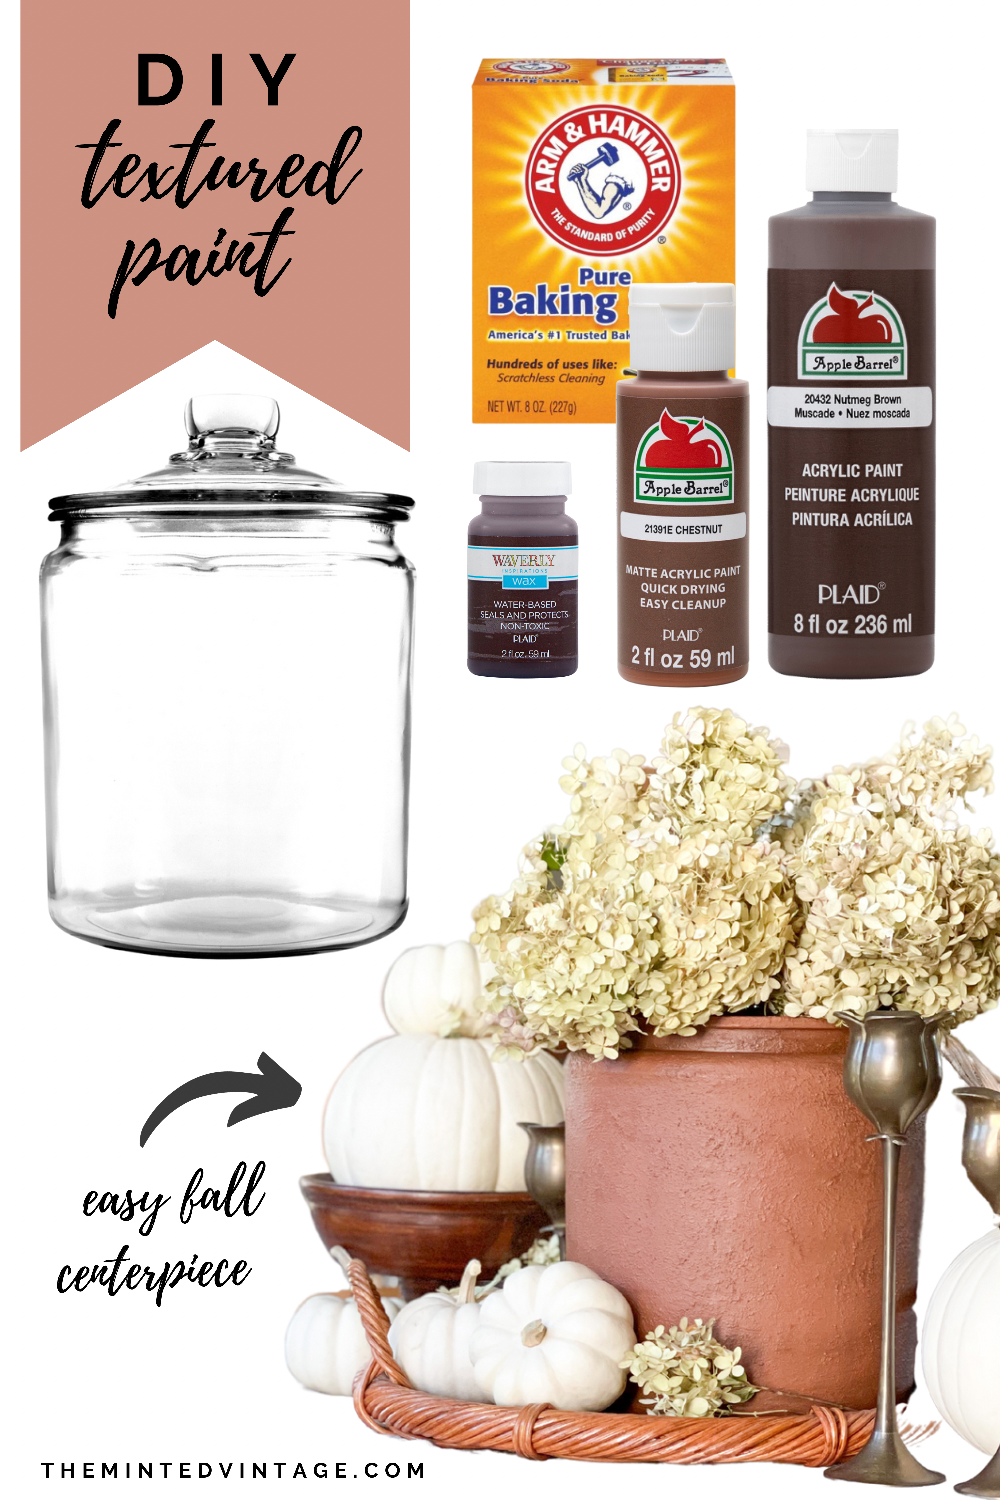
DIY Textured Paint Fall Centerpiece
Last spring I shared a Pottery Barn dupe DIY centerpiece using paint and a glass canister. (If you missed it, tap here to watch the video. The photo is shown below.) Today, I am sharing the same glass canister, but with a whole new look! This time it’s a McGee & Co dupe…
This idea was inspired by a rustic brown vase that I first saw on Instagram. Zenia from styleitprettyhome styled her vase beautifully on her coffee table. I loved the warm brown, earthy texture and thought it was the perfect style for our home. Since I already had a similar canister, I just had to try to DIY the look.
DIY Textured Vase Dupe
I remembered that Natalie from Vintage Porch on Instagram shared a tutorial for textured paint, so I decided to see if I could dupe the original vase using the glass canister that I already had. (You can read Natalie’s tutorial here.) I finished mine a little different than her instructions, so here’s a recap of what I did…
Step 1: Mix your paint color (I used matte acrylic paint, linked below.) with baking soda until you get a texture a little thicker than peanut butter. The drier your mix is, the more texture you will get. Brush and dab the mixture on. Don’t be neat! This is all about being messy. Don’t forget to add texture around the rim, too.
Save your brush and mixture by putting it in a plastic bag, just in case you decide to add more texture. TIP: If your painting glass, start with a dark color as your baking soda base coat. I didn’t and had to paint it black after the first step to get better coverage.
Step 1 Base coat: paint + baking soda mixture.
Look at all that texture! Once you are happy with the texture then let it dry.
Step 2: Paint it whatever color you want! You can paint all over or just spots here and there in different colors. The more you layer here, the more authentic your piece will look. I ended up just using a mixture of Nutmeg + Chestnut acrylic matte paint as my final coat of paint all over the canister.
Step 2: Final paint color
I still wanted some character, so I added antique wax…
Step 3: Once it is completely dry, gently brush or wipe on the antique wax. Antique wax goes a long way so start out light until you get the coverage you want. Wipe off any excess wax with a damp and dry paper towel. I kept doing this to fix any spots that I didn’t like.
Here is the finished result!
I styled it with some dried hydrangeas on a table in our great room. Along with a stack of books, pumpkins, a candle, and of course our magnolia candle coaster.
This is a fun DIY that you really can’t mess up! I think I got pretty close to the original. What do you think?
Happy Texturing!
Megan
Materials:
Everything linked below is from Walmart online, but I was able to find everything at our local store.
Apple Barrel Acrylic Paint in Chestnut
Apple Barrel Acrylic Paint in Nutmeg


